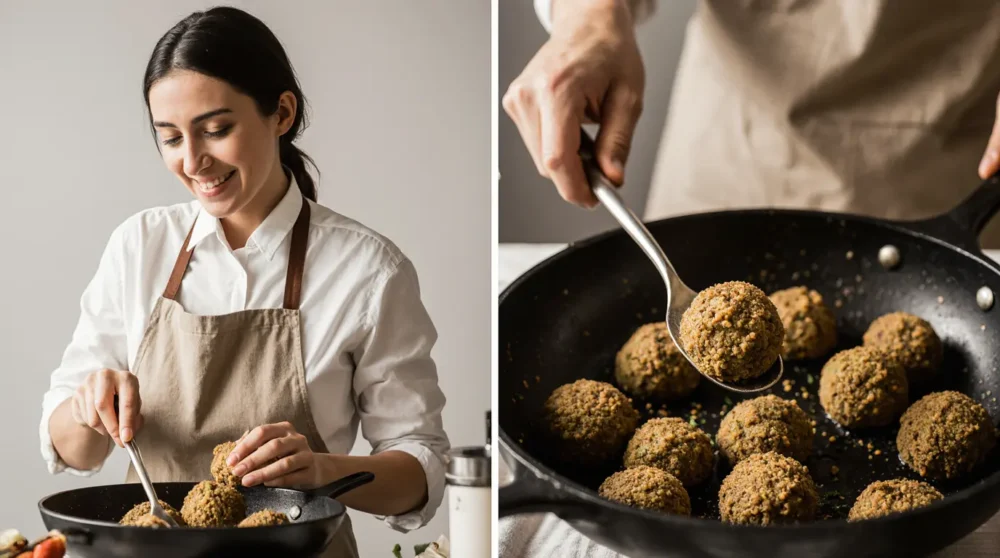
Falafel is more than just a recipe—it’s a cultural icon. This crispy, golden-brown delight made from ground chickpeas or fava beans is one of the most beloved dishes in Middle Eastern cuisine. Whether tucked inside warm pita bread, served on a mezze platter, or enjoyed as a snack, falafel has become a global favorite for vegetarians and food lovers alike.
The origins of falafel are fascinating and often debated. Some say it first appeared in Egypt, made with fava beans, while others believe it spread through the Levant where chickpeas became the star ingredient. No matter its birthplace, falafel has evolved into a dish that represents community, tradition, and flavor.
In this article, we’ll dive into all about falafel—its history, how to make the perfect version at home, cooking tips, and creative variations. I’ll also share the best falafel recipe you can try today, along with serving suggestions, storage tips, and nutritional insights. By the end, you’ll not only know how to make falafel from scratch but also understand why this dish has stood the test of time.
Table of Contents

Ingredients
For Traditional Falafel
- 1 ½ cups dried chickpeas (soaked overnight, not canned)
- 1 small onion, roughly chopped
- 4 cloves garlic
- ½ cup fresh parsley leaves
- ½ cup fresh cilantro leaves
- 1 tsp cumin powder
- 1 tsp coriander powder
- ½ tsp cayenne pepper (optional)
- 1 tsp baking powder
- 3 tbsp all-purpose flour (or chickpea flour for gluten-free option)
- Salt & black pepper to taste
- Oil for frying (vegetable, sunflower, or canola)
For Tahini Sauce (Optional but Recommended)
- ½ cup tahini paste
- 2 tbsp lemon juice
- 2 tbsp water
- 1 garlic clove, minced
- Pinch of salt
Optional Substitutions:
- Replace parsley with dill for a fresh, tangy twist.
- Use fava beans instead of chickpeas for a traditional Egyptian version.
- Swap flour with rice flour for a gluten-free falafel.

Instructions
- Soak the Chickpeas
Rinse and soak dried chickpeas in plenty of water for 12–18 hours. Drain well before use. - Blend the Mixture
In a food processor, pulse chickpeas, onion, garlic, parsley, cilantro, cumin, coriander, cayenne, baking powder, flour, salt, and pepper. The texture should be coarse but able to hold together. - Chill the Mixture
Cover and refrigerate for 1–2 hours to help the falafel bind. - Shape the Falafel
Form into small balls or patties using your hands or a falafel scoop. - Fry the Falafel
Heat oil in a skillet to 350°F (175°C). Fry falafel in batches for 3–4 minutes until crispy and golden. Place on paper towels to drain. - Prepare Tahini Sauce
Whisk tahini, lemon juice, garlic, water, and salt until smooth and creamy. - Serve & Enjoy
Stuff falafel into pita bread with fresh veggies, drizzle with tahini sauce, and garnish with herbs.
Pro Tips & Notes
- Never use canned chickpeas—they are too soft and will cause falafel to fall apart.
- Chill the mixture before frying for maximum crispiness.
- If falafel crumbles, add a little more flour or chickpea flour.
- Use a thermometer to keep frying oil at the right temperature for even cooking.
- For a lighter option, falafel can be baked or air-fried.
Variations
- Gluten-Free Falafel – Use chickpea flour or rice flour, and serve with gluten-free wraps.
- Vegan Falafel Wrap – Pair falafel with vegan garlic yogurt sauce or tahini.
- Spicy Falafel – Add harissa, chili flakes, or jalapeños for a fiery version.
- Herb-Packed Falafel – Double the parsley and cilantro for a greener, more fragrant falafel.
Serving Suggestions
- Serve inside warm pita bread with tomatoes, cucumbers, lettuce, and pickles.
- Pair with mezze platters featuring hummus, baba ganoush, and tabbouleh.
- Offer as an appetizer with dipping sauces like tahini or garlic yogurt.
- Use falafel in Buddha bowls with quinoa, roasted veggies, and tahini drizzle.
Storage & Make-Ahead
- Refrigerate: Store falafel in an airtight container for up to 4 days.
- Freeze (Uncooked): Freeze raw falafel balls on a tray, then transfer to a freezer bag. Fry directly from frozen.
- Reheat: Reheat in the oven at 350°F (175°C) for 8–10 minutes to regain crispiness.

Health & Nutrition Notes
- Calories per falafel ball: ~60–70 calories (without bread or sauces).
- Nutritional Highlights:
- High in plant-based protein and fiber from chickpeas.
- Rich in antioxidants and vitamins from fresh herbs.
- Healthy fats from tahini contribute to heart health.
Falafel is a balanced meal option that is filling yet wholesome, especially when baked instead of fried.
FAQs
1. What is the origin of falafel?
Falafel is believed to have originated in Egypt, made with fava beans, and later spread throughout the Middle East with chickpea-based variations.
2. Can I bake falafel instead of frying?
Yes, you can bake falafel at 400°F (200°C) for 25–30 minutes. Brush lightly with oil for extra crispiness.
3. Why does my falafel fall apart while frying?
Too much moisture is usually the cause. Ensure chickpeas are well-drained and the mixture is chilled.
4. Can I make falafel in advance?
Yes, shape the falafel balls and refrigerate or freeze before cooking. They can be fried straight from frozen.
5. Is falafel healthy for weight loss?
Falafel is nutritious, especially when baked or air-fried, but portion control is key when paired with bread and sauces.
6. What’s the best sauce for falafel?
Traditional tahini sauce is the most popular, but garlic yogurt, tzatziki, or hot sauce also pair wonderfully.
7. Can I make falafel without a food processor?
Yes, but it requires effort. Finely mince the chickpeas and herbs by hand or use a strong blender.
Internal Linking Suggestions
Conclusion
Falafel is more than just a dish—it’s a symbol of tradition, culture, and flavor. With its crispy outside, soft inside, and bold spices, it has become a favorite worldwide. Whether you’re making falafel for a family dinner, meal prep, or a party spread, this recipe and guide ensure success every time.
